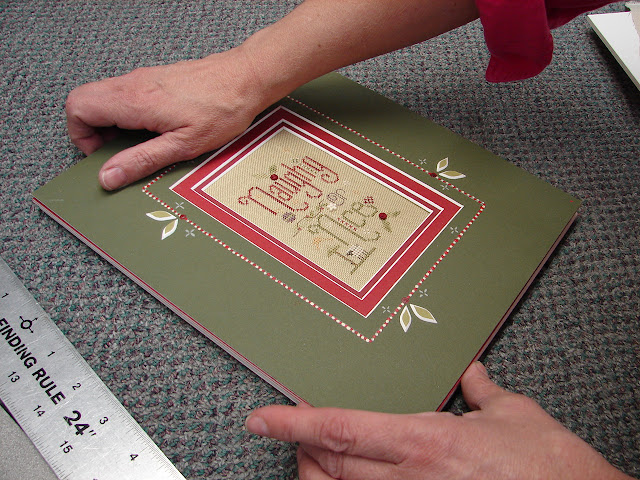
We're often asked by DIYers how to stretch a cross stitch before assembling into a mat and frame kit. Here is our photo tutorial detailing our process. If it gets too tedious or difficult for you, please know that we will be happy to stretch your piece for you if you ship it to our shop.
When you purchase a mat set for a Shepherd's Bush cross stitch design it will come with the mat(s) and a piece of white, acid-free foam board the same size as the mat set.
The first step in the stretching process is to determine how big of an opening to cut into your foam board. To get
started, measure the mat margin on the mat set – this one measures 2 7/8”. The
mat needs to cover the fabric
as well as the foam board.
We know
that the mat is 2 7/8", so our foam board frame needs to have an opening that will hide underneath that 2 7/8" exposure.
We will measure in
2” from each edge of the foam board and mark the board with pencil– extending
and overlapping the lines
at the corners by about 1/4”. To check that you've done this step correctly, place the mat over the foam board and confirm that your pencil lines are hidden by the mat.
Using a
straight edge and a razor knife, cut the marked area from the middle of the foam
core leaving the window
intact. Cut just a little beyond the corner (follow your overlapped pencil
marks) to free the foam center.
Pop the center piece out and visually center your stitched design on the smaller inner foam board piece.
Stretch the cross stitch design from the centers outward, and pin with straight pins (we recommend stainless steel) around the perimeter of the board following the grain of the fabric. You may need to make adjustments, but you can pull the pin out and try again if it isn’t tight or straight enough.
Now you can
pop the outer foam board frame back onto the piece – concealing all the straight
pins. Make the front of the cross stitch sit flush in the foam board frame.
The final step is placing the mat set onto the design. Double sided tape works well. We recommend taping the mat to the outer foam core frame so no adhesive comes in contact with your fabric.
We hope it worked out well for you. Happy Stitching!
xxxxx


3 comments:
Thank you so much for showing this to us. I appreciate the step-by-step pictorial and instructions. In fact, I always wondered how this was done - fascinating! Having said that, I still want to send my framing to you instead of doing it myself :)
Denise
Thanks for the tutorial. I appreciate you sharing with us. Your mats and framing work is always so beautiful!!
That's a great explanation! The visuals make a huge difference. Still not sure I'm confident enough to try it myself, though. :-)
Post a Comment