
First, I cut an acid free foam core board the size of the frame. I then cut a window in this board, the center of which I will use to stretch the cross stitch. Using stainless steel pins, I stretch the cross stitch across the foamcore, lining up the grain of the fabric with the edge of the board. I then pop the center of the board back into the window of the foamcore.


I then cut the mats to size and cut the bevelled window in the mats. In this case a plain rectangular window suited the piece. I adhere the mats to the outer portion of the foam core window. Using this method, the cross stitch never comes into contact with any adhesives and it is easily removable for cleaning or a framing update.


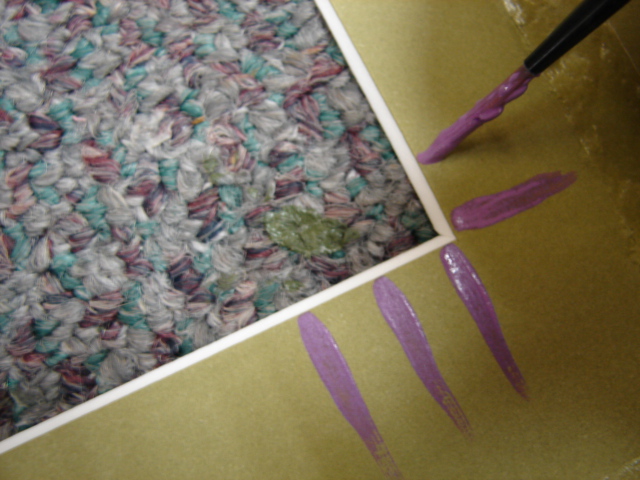
Then comes the fun part. I take a good hard look at the cross stitch and see what elements I want to use to embellish the mats. In this case, I borrowed stripes from the witches sleeve and dots and moons from her dress.


I used these elements on different layers of matboard.

Then, for a little oomph, I'll scatter cut-out stars to finish the embellishment.


Now I build the frame.

All that's left is putting the package together. As this is a shop model, I won't be putting any glass on it. I'll simply neatly fold the remaining linen and pin it out of the way, put the frame on, paper the back and add a wire for hanging.

TA DA!

I hope you enjoyed the process as much as I did!
Jill
19 comments:
So Cute!!! I know there is alot of work that goes into framing. You do beautiful work!!! Thanks for sharing with us.
So interesting to see the work that goes into your framing Jill. Fabulous work!
Thank you for sharing the framing process. It was very interesting. Your work is wonderful.
That was really interesting. What type of paint do you use on the mats?
Thanks for showing us how you do it.
I have never thought of cutting the center of the foam core out to mount the stitching! That would make sense because if going the whole mat size, you need TONS of extra material which I usually don't have! Thanks for showing that!
Totally fun to see the process!!!!! Beautiful stitching and framing!!! Thanks for the insight!!!!!
That was so interesting, especially seeing you use a scalpel. I was chatting to my framer about your work and gave her your website. She said you must be using a laser cutter to do the work! But here it is, an actual scalpel LOL.
I love hearing about the creative process and how you decide what effect to go for.
Thanks for sharing that, Jill. I've seen the amazing things you do, but didn't know the step by step of it. I've wondered about the process though, so I appreciate the info.
Love those stripes Jill! Give the pups a cuddle for me, I miss them and will have some special treats for them in September.
Thanks for sharing your method - I had an "aha" moment with your use of the foam core and then putting it back in. How cool.
Belinda
Jill -- you are AMAZING. Your step by step just reinforces what we already knew. You can do magic! Thank you so much for showing us the inside workings.
Thank you for sharing your process - it never occurred to me to cut the middle of the foam core, to save having to add fabric to accommodate matting! Beautiful work - I love this piece :)
Thank you for sharing your process! You made everything look so easy, but that is only because you have so much skill :)
--shaunterria
ca11i0pe.blogspot.com
Jill thank you so much for sharing how you do this - I've always wondered but never wanted to take a piece apart to find out! You're truly a genius with your designs!
Jill - Thx for sharing this. I've been sending all my pieces to you and now I know what work and love you put into each and every piece.
Thank you for sharing the tedious work that goes into framing the lovely pieces your customers entrust you with!
Jill, you are God's gift for us stitchers!!! You do the best framing in the world!
You do such beautiful work ~ thank you for sharing your process with us. This little peek into how much care and love goes into your framing was a great way to enjoy my after dinner coffee and internet browsing :)
Thank you for showing the process. It is not any easy or simple thing to do. You don't "just frame" the picture. Framing process is more complicated than one could guess.
Post a Comment